Table of Contents
How to Clean the Sticky Side of a Screen Protector
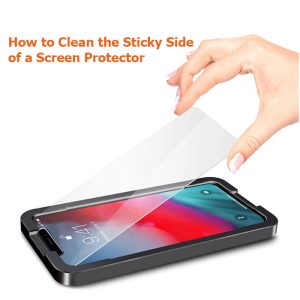
Screen protectors protect our priceless electronic gadgets from scratches, smudges, and fingerprints and act as their first line of defense. However, with time, a screen protector’s sticky side may gather grime, oils, and residues, weakening its adhesive strength and reducing its efficacy. This comprehensive tutorial shows how to completely clean a screen protector’s sticky side to restore its functioning and guarantee a crystal-clear viewing experience.
Supplies required:
- A microfiber cloth
- Isopropyl alcohol (70% or more by volume)
- Purified water
- fabric swabs
- soft cloth without the lint
- Mild liquid soap, if desired
- Compressed air is available.
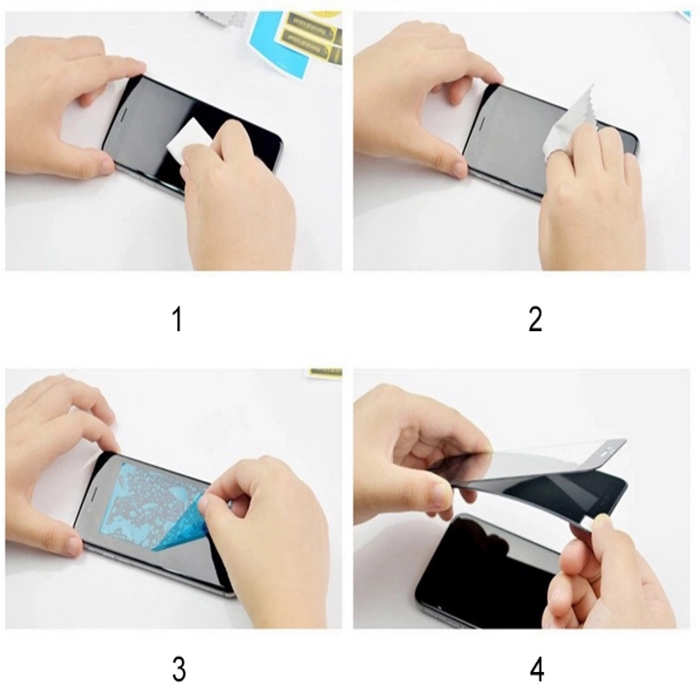
Step 1: A screen protector should be removed:
Start by carefully removing your device’s screen protector. Start from one corner and take your time carefully peeling it off. It should be positioned with the sticky side facing up on a spotless, level surface.
Step 2: Cleaning Up Debris and Dust
To remove any stray dust or debris, wipe the adhesive side of the screen protector with a microfiber cloth. This step guard against surface scratching during cleaning. Put only a little pressure on the area.
Step 3: Creating the Cleaning Solution
Equal quantities of distilled water and isopropyl alcohol should be combined in a small basin. Without inflicting any harm, isopropyl alcohol removes oils, fingerprints, and sticky substances. The distilled water lessens the likelihood of streaks and aids in diluting the alcohol.
Step 4: Use a cotton swab to wipe the sticky side
Use a cotton swab to wipe the sticky side after dipping it in the cleaning solution. Make sure the cotton swab is moist but not too so. Rub the screen protector’s adhesive side gently in circular movements, paying particular attention to any apparent residues or sticky spots. Avoid using too much pressure as this might harm the protection.
Step 5: persistent Residue Removal:
You may use a mild liquid soap to remove stubborn residues that are difficult to remove. Use a tiny quantity of liquid soap to dampen a corner of the microfiber cloth, then gently massage the troublesome regions in circular movements. Wipe off the soap residue from the screen protector after watering the fabric. Use a fresh section of the towel to dry it.
Step 6: Drying the Screen Protector:
After cleaning, remove any extra moisture from the adhesive side of the screen protector with a gentle, lint-free cloth. Before applying it again to your gadget, ensure it is dried. You may also blast away any lint or dampness by using compressed air.
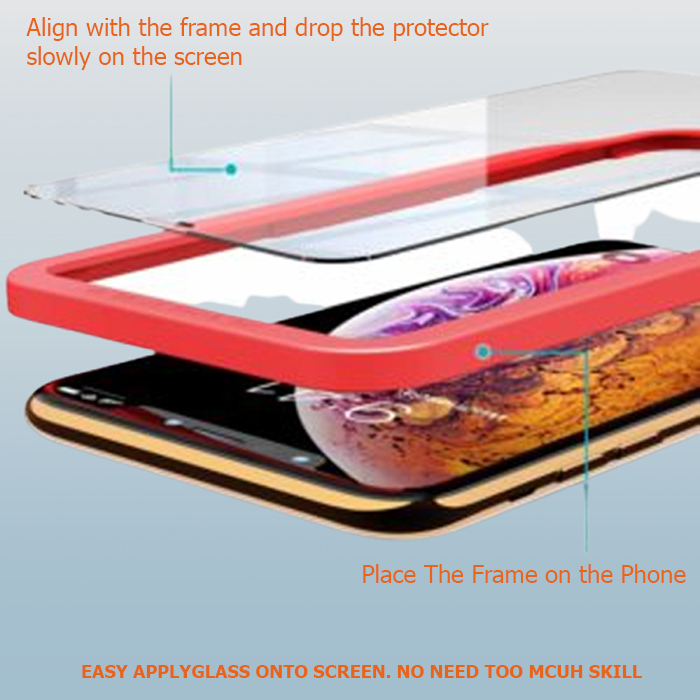
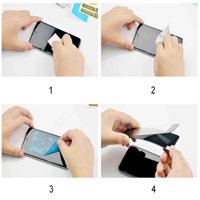
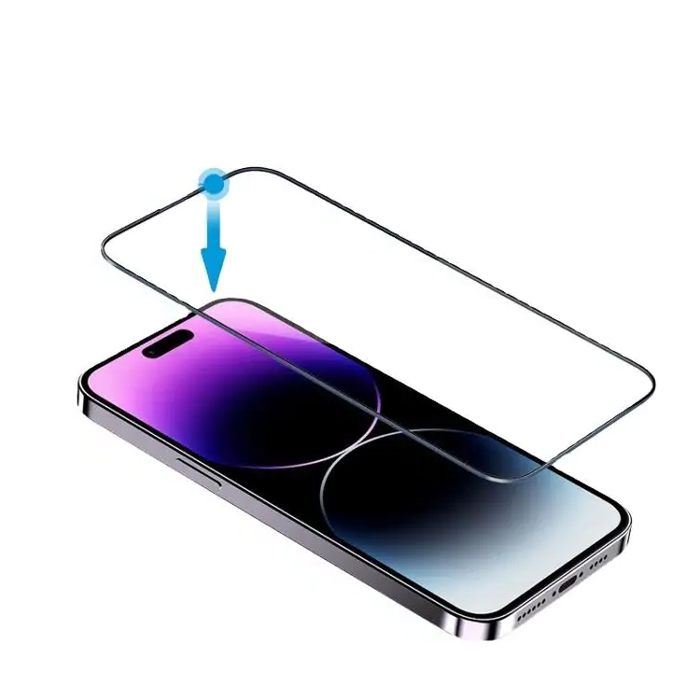
Step 7: Reapplying the Screen Protector:
When the screen protector is completely dry, carefully line it with your device’s screen. Then, gently apply it, beginning with one end and working your way down. Take your time to prevent misaligning the protector or capturing any bubbles. To achieve appropriate adherence, gently push the surface along.
Conclusion:
In conclusion, maintaining a screen protector’s adhesive qualities and guaranteeing peak performance need regular cleaning of the sticky side. You may successfully remove grime, oils, and residues by following the detailed instructions in this article, restoring the screen protector’s functioning, and retaining the clarity of your screen’s screen. Remember to take care during the procedure to avoid damage, and only use the cleaning products indicated for the best results. Your sticky side of a screen protector will continue to provide outstanding protection for your electronic gadget with regular care and upkeep.

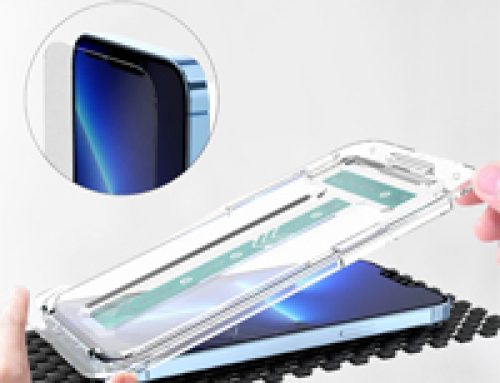
Also pls visit our new product: