Table of Contents
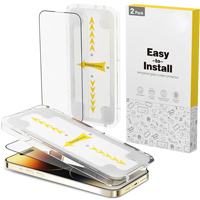
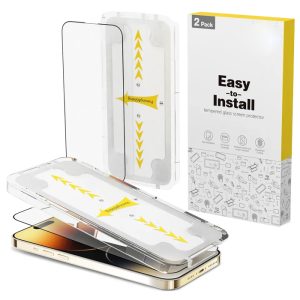
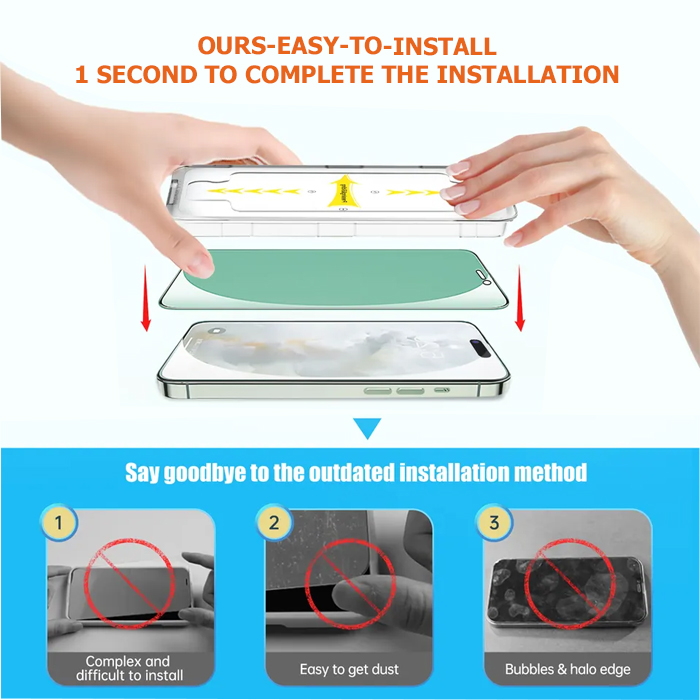
A Comprehensive Guide: How to Put On a Screen Protector with installation magic box
Introduction:
Screen protectors are an essential accessory for safeguarding the delicate displays of smartphones, tablets, and other electronic devices from scratches, smudges, and cracks. Applying a screen protector might seem intimidating, but with the right technique and a little patience, you can easily achieve a smooth, bubble-free installation. This comprehensive guide will walk you through the step-by-step process of putting on a screen protector like a pro.
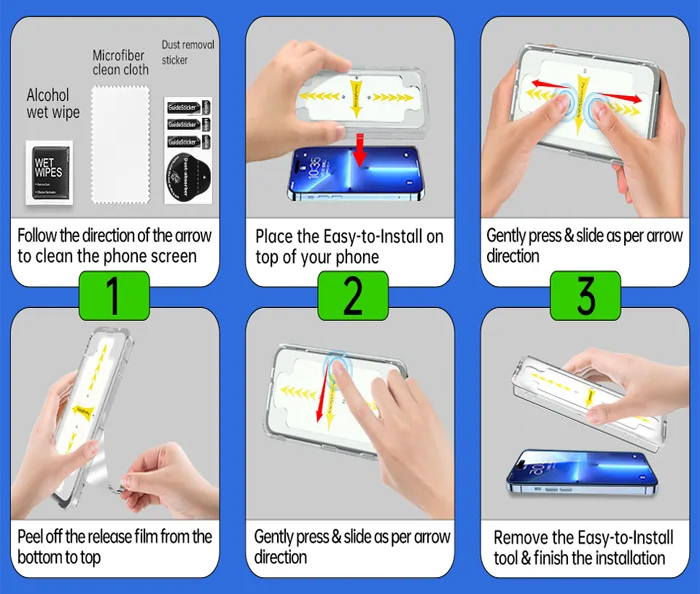
Step 1: Gather the Necessary Tools
Before you begin, make sure you have the following tools at hand for a successful installation:
– A microfiber cloth or cleaning solution to wipe the screen clean.
– A dust removal sticker or tape to eliminate any dust particles.
– A card or squeegee for smoothing out bubbles.
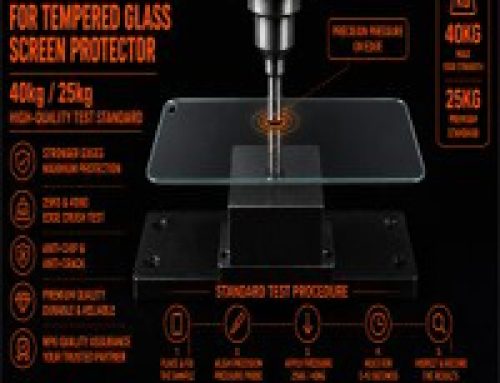
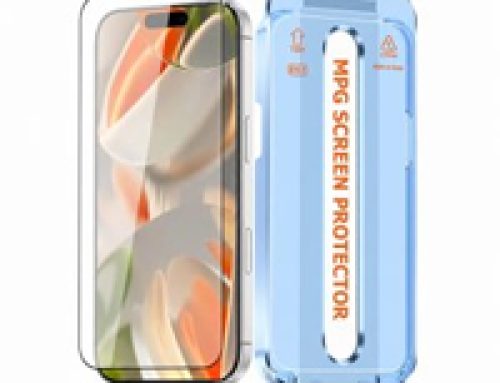
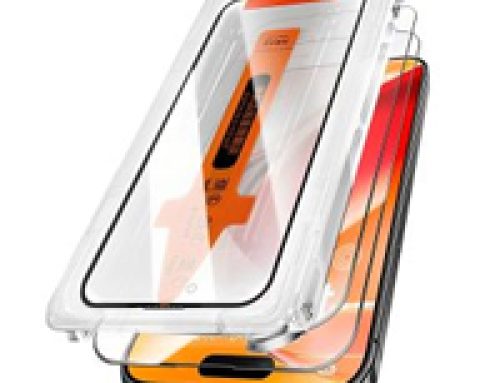
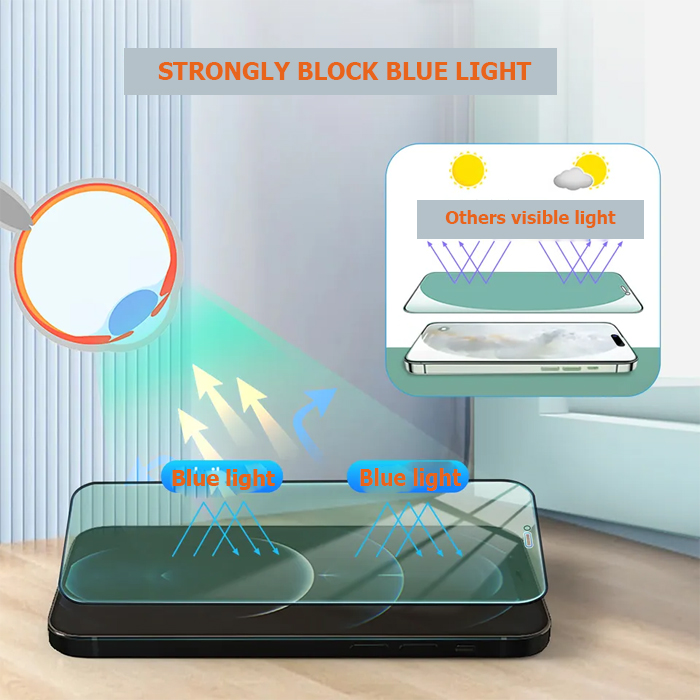
– The screen protector itself, preferably made of high-quality tempered glass or film.
Step 2: Prepare the Screen
Start by turning off your device and finding a clean, well-lit workspace. Take the microfiber cloth or cleaning solution and thoroughly clean the screen, removing any fingerprints, smudges, or dust. It’s important to ensure that no debris remains, as this can cause bubbles or affect the adhesive’s effectiveness.
A Comprehensive Guide: How to Put On a Screen Protector
Step 3: Align the Screen Protector
Check the packaging of your screen protector for any specific instructions. Most screen protectors are designed to be slightly smaller than the device’s screen to ensure compatibility with cases. Align the protector carefully with the device’s screen, matching the appropriate cutouts for the camera, speaker, or home button.
Step 4: Peel off the Backing
Once aligned, peel off a small portion of the backing from the screen protector, exposing the adhesive side. Be cautious not to touch the adhesive with your fingers to avoid leaving fingerprints.
Step 5: Apply the Screen Protector
Carefully position the exposed adhesive side of the screen protector onto the screen, aligning it precisely with the device’s edges and cutouts. Apply gentle pressure in the center of the protector and allow it to adhere naturally. As you press down, the adhesive should start spreading across the screen. Use a card or squeegee to smooth out any bubbles or creases, working from the center towards the edges.
Step 6: Remove Bubbles
If you notice any bubbles trapped under the screen protector, there’s no need to panic. Small bubbles will often disappear on their own within a day or two. For larger bubbles, gently lift the protector from one corner using the card or squeegee and reapply it, ensuring a smoother installation. Use the card or squeegee to push out any trapped air as you go.
Step 7: Final Touches
Once the screen protector is in place, check for any remaining bubbles or misalignments. If necessary, lift and reposition the protector until you are satisfied with the result. Use the microfiber cloth to gently wipe away any fingerprints or smudges that may have accumulated during the installation process.
Conclusion:
By following these step-by-step instructions, you can successfully apply a screen protector to your electronic device, ensuring optimal protection for your screen. Remember to be patient and take your time during the installation process. With practice, you will become more proficient at applying screen protectors and achieve flawless results every time. Enjoy the peace of mind that comes with safeguarding your device’s screen against scratches and other potential damage.

Also please visit our new product:
https://www.mobilephoneguard.com/tempered-glass-vs-film-screen-protector/